
Jeremy Fielding giving a fantastic tutorial on building WALL-E
Well not something I would have thought of doing but do find Jeremy Fielding videos very entertaining and creative so I thought some people will enjoy his tutorial.
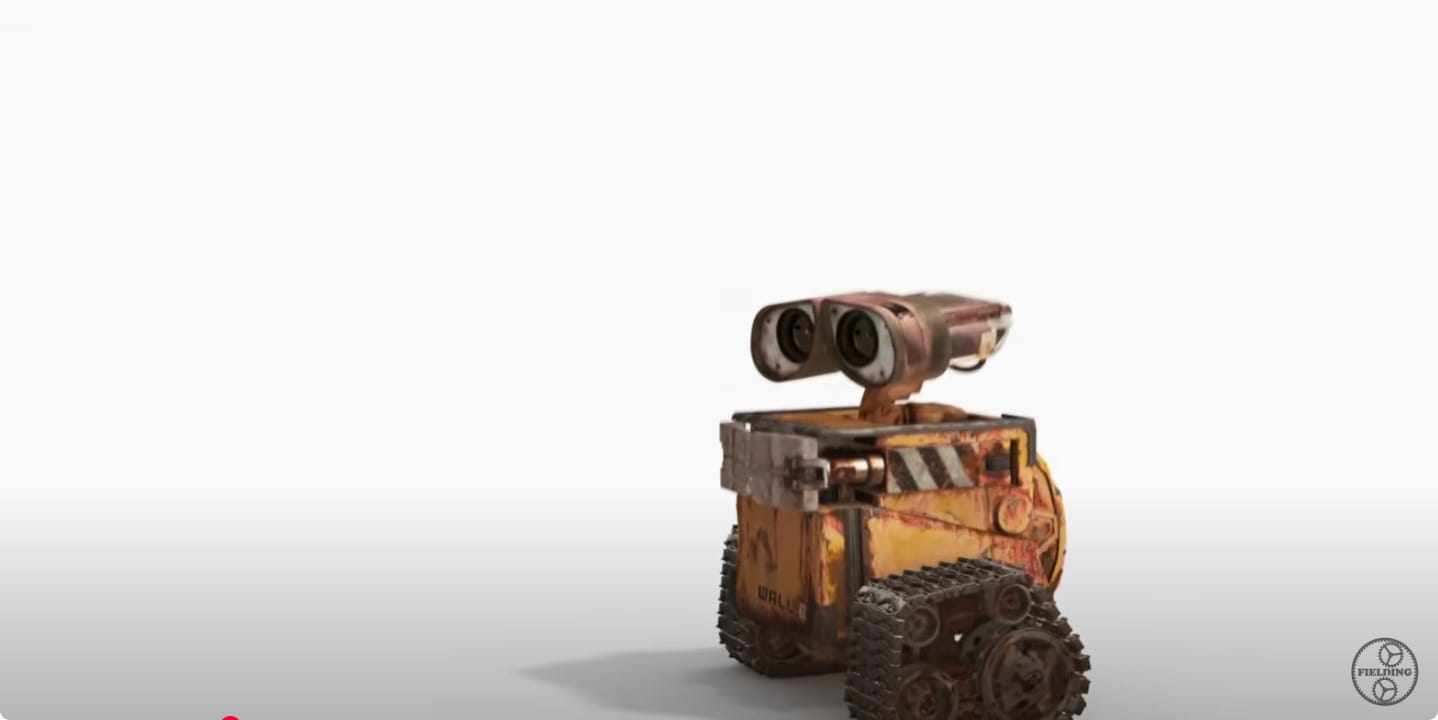
Jeremy talks about how difficult to get the size, dimensionally accurate and how the DVD offered a making of WALL-E where WALL-E is in a white room. It was easier for Jeremy to get the movement and dimension correct before building WALL-E.
Jeremy even found out that on the ratatouille DVD was a promotional video for Wall-E that has the it talking about the interior volume of WALL-E trash compactor. That he can gain even more insight on the size and abilities of Wall-E. 14 cubic inch interior volume that surprised Jeremy how small he was in size.
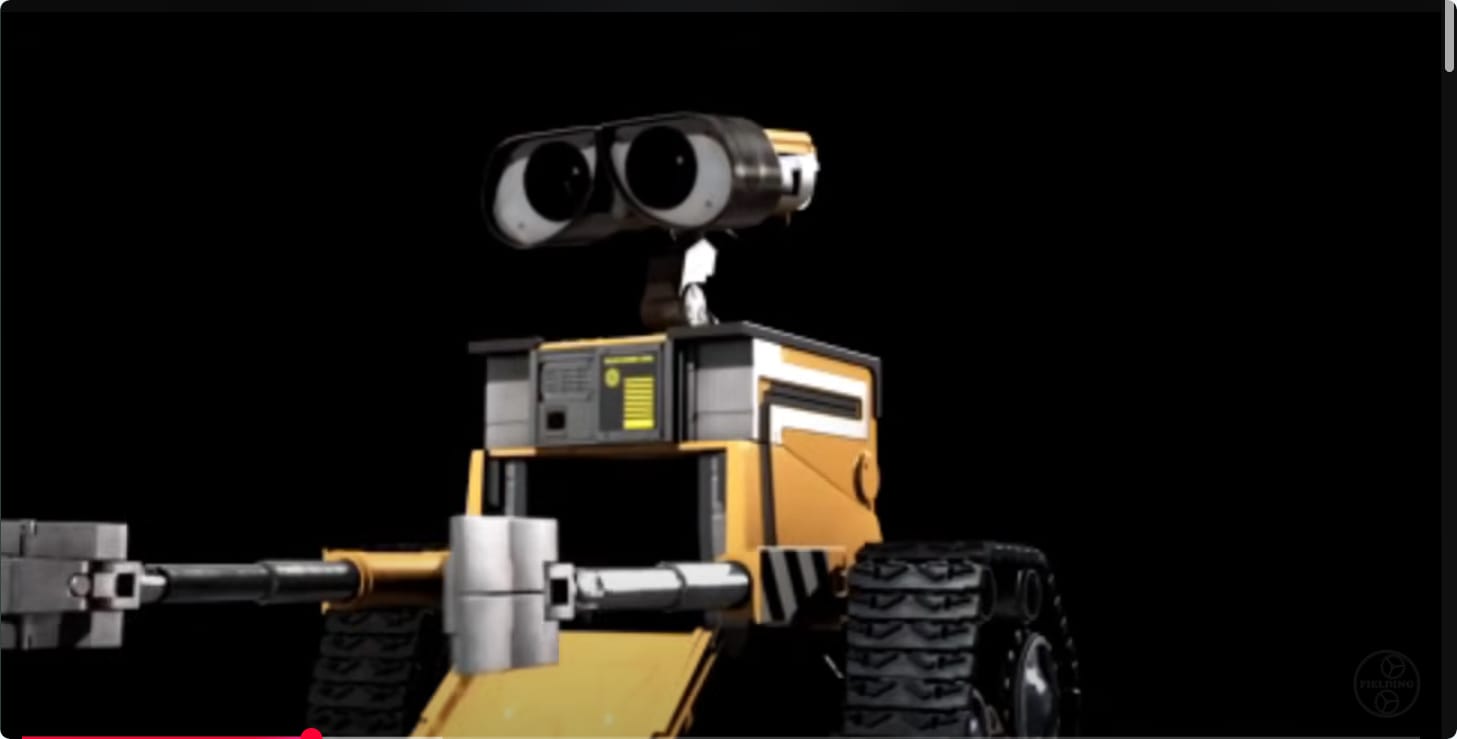
Jeremy talks about the complex movements that WALL-E able to do such as raising his torso up on his belts. Looks like he is on his tippy toes trying to reach the top shelf of a cabinet. Again extremely challenging to do in real life vs a movie.
To add more problems to the build is WALL-E arms telescope so he or she can reach out to higher then normal areas. This adds another level of challenge to the build as he now has to factor how to make the arms telescope in function.
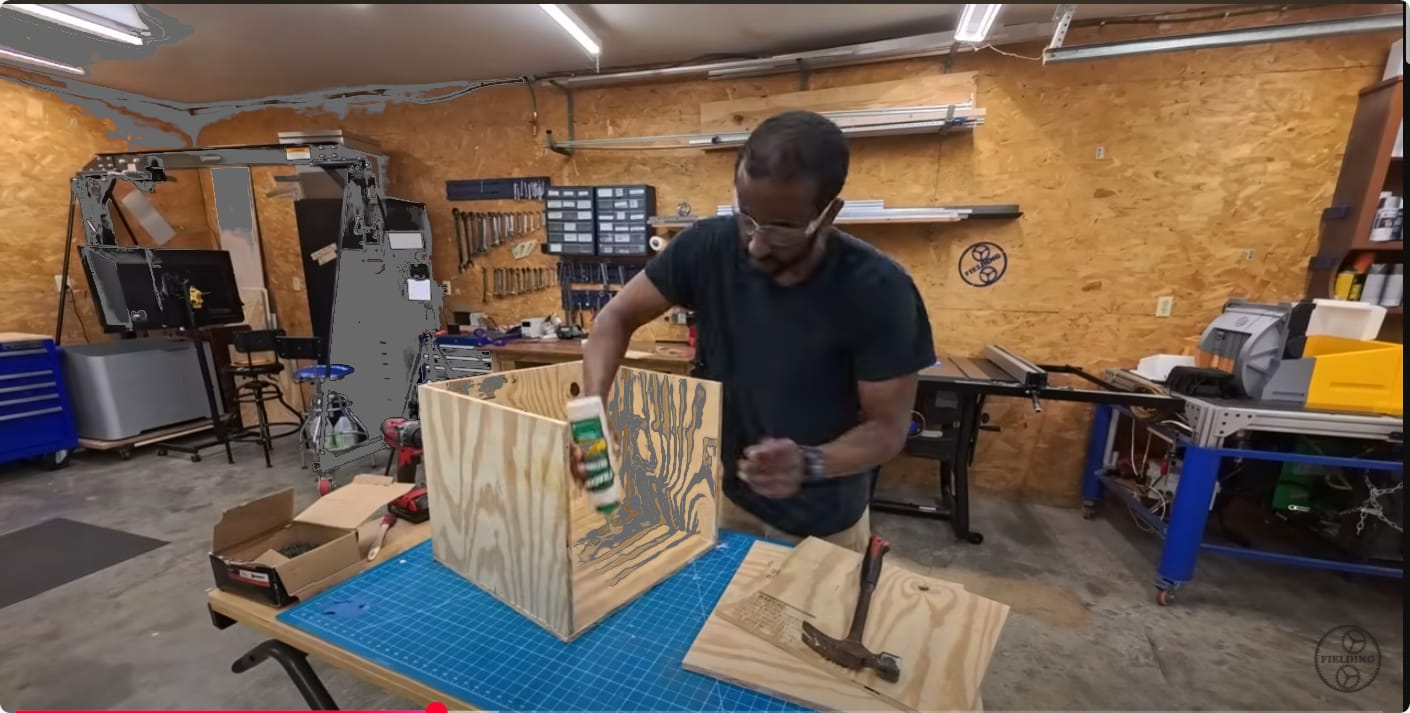
Jeremy went to work on building the interior of his WALL-E as you can see there is not a lot of room to work with on his WALL-E. The challenge is how will he add his servo motors, electronics, wiring, gearing and such in such a small area meaning somethings he will have to pass on to get it to work.

Jeremy went to sanding the exterior of the plywood box to smooth it out has to be very smooth to mount the 3D printed parts to it.
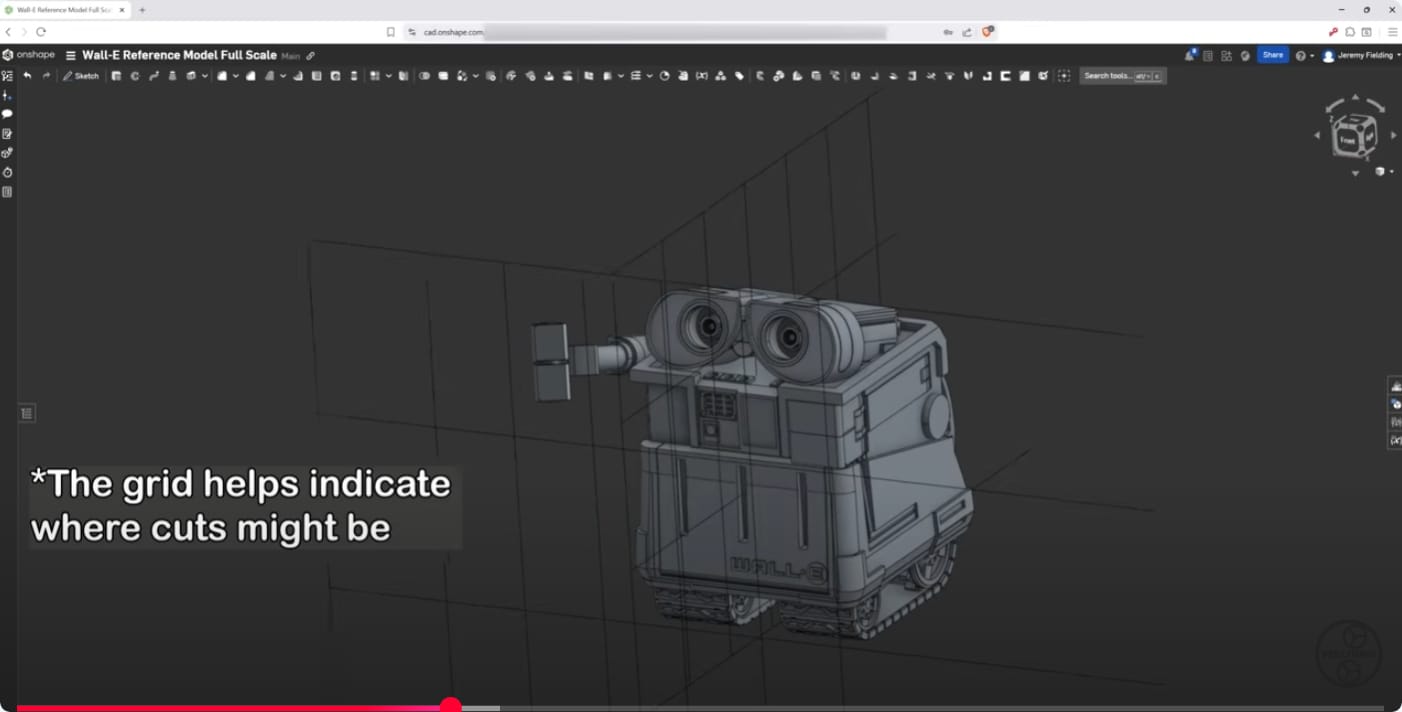
Jeremy went to work with his 3D modeling tool OnShape a web based designing tool that looks similar to my parametric modeling tool Fusion 360. Now that he has what he believes are its physical dimensions he can now design the elements around it.
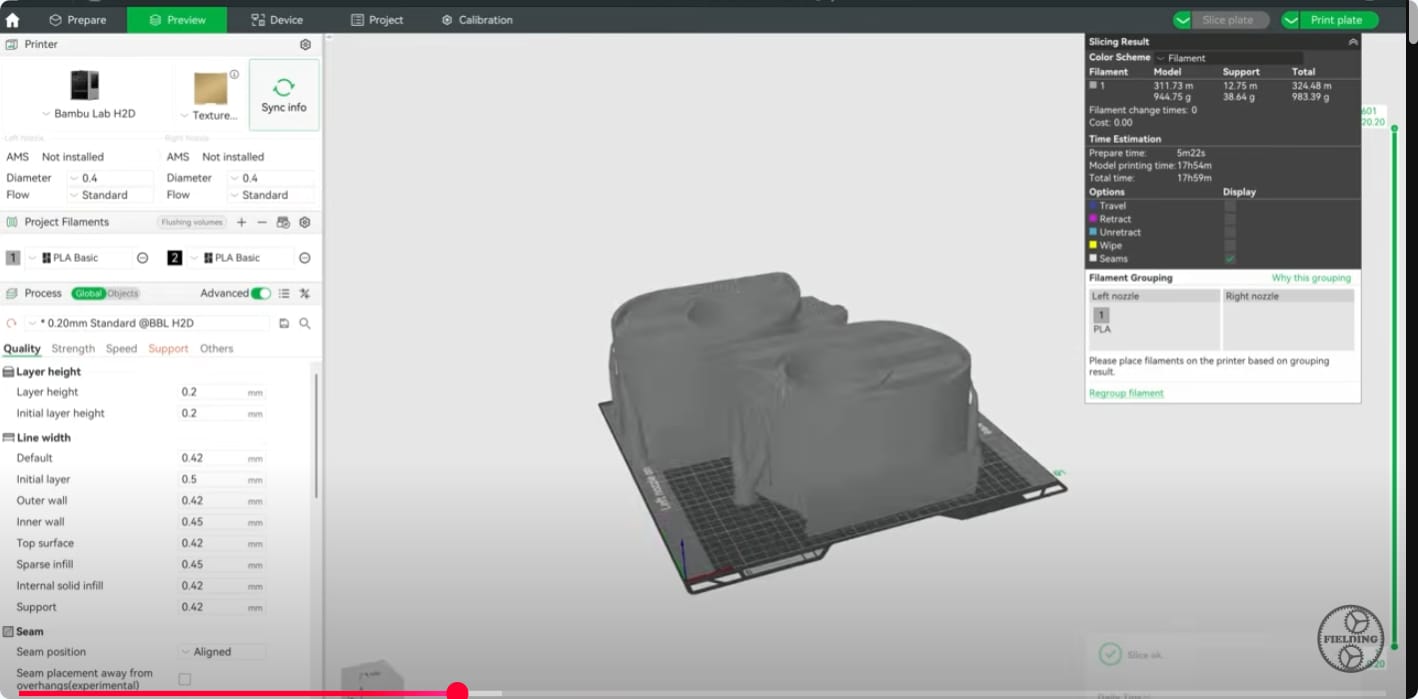
His first parts he designed in Bambu Studio he has the latest version of Bambu Studio with the larger build volume then my Bambu Labs 3D printer. It looks like I would have to print each claw separately if I was to try to build this WALL-E.
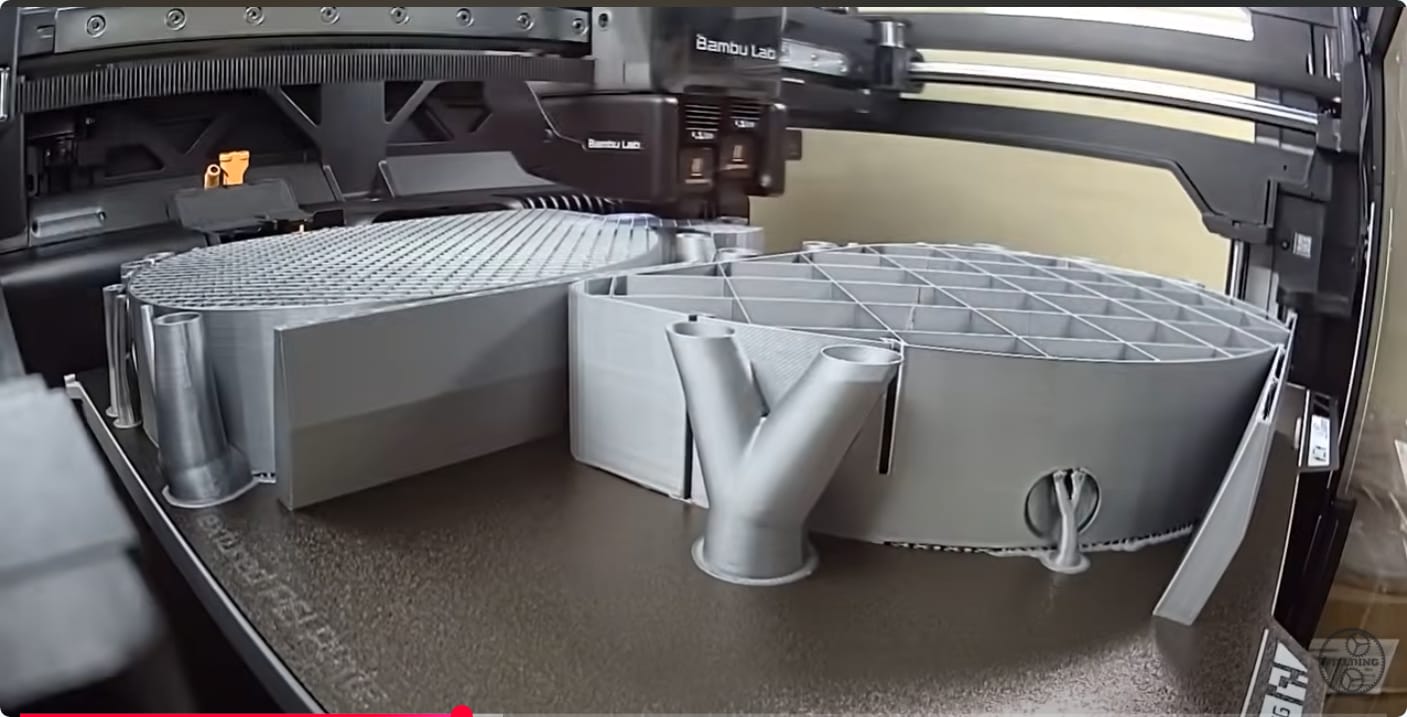
Here is the Bambu Labs latest very fast duel extrusion head printer printing his first group of many parts that will take sometime to produce. Because of the size of the parts it took days to produce.
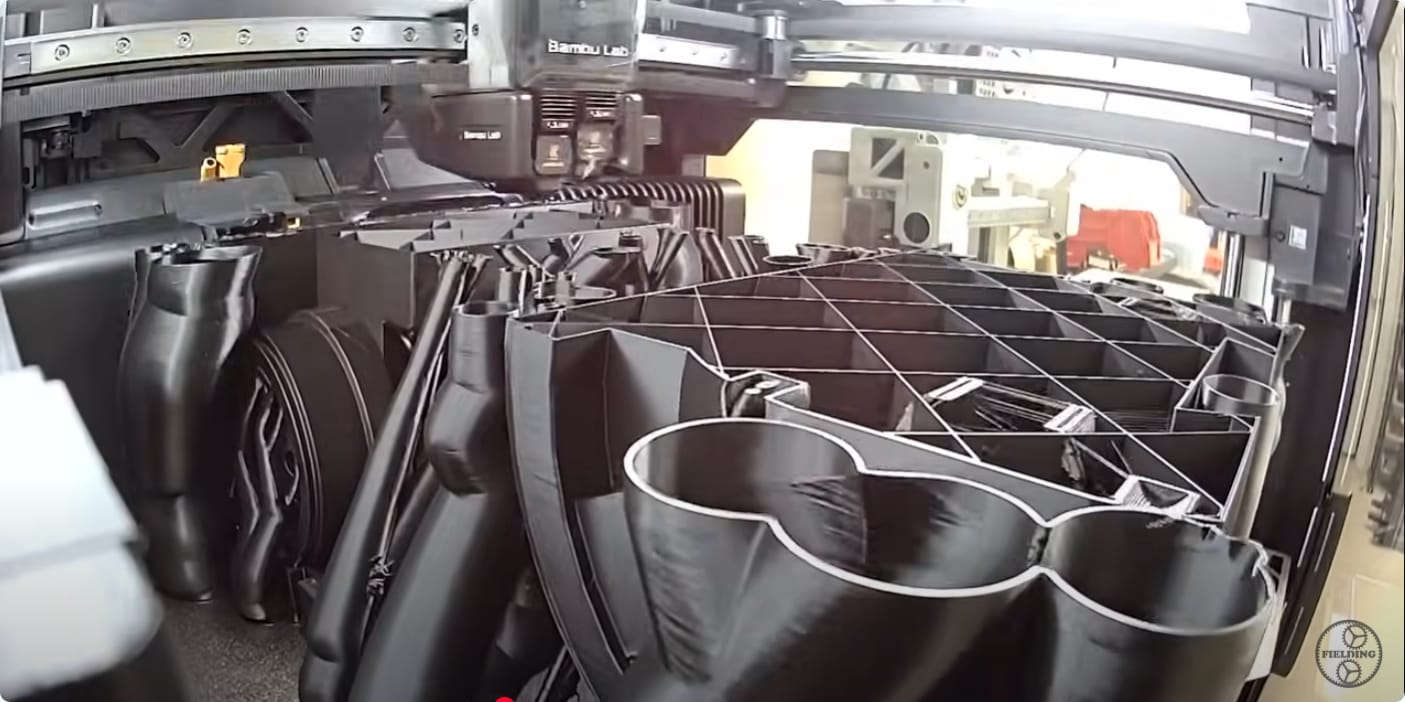
On to 3D printing the track parts for WALL-E that have to be flexible yet strong. His Bambu Labs 3D printer went to work for more days of printing these big parts.
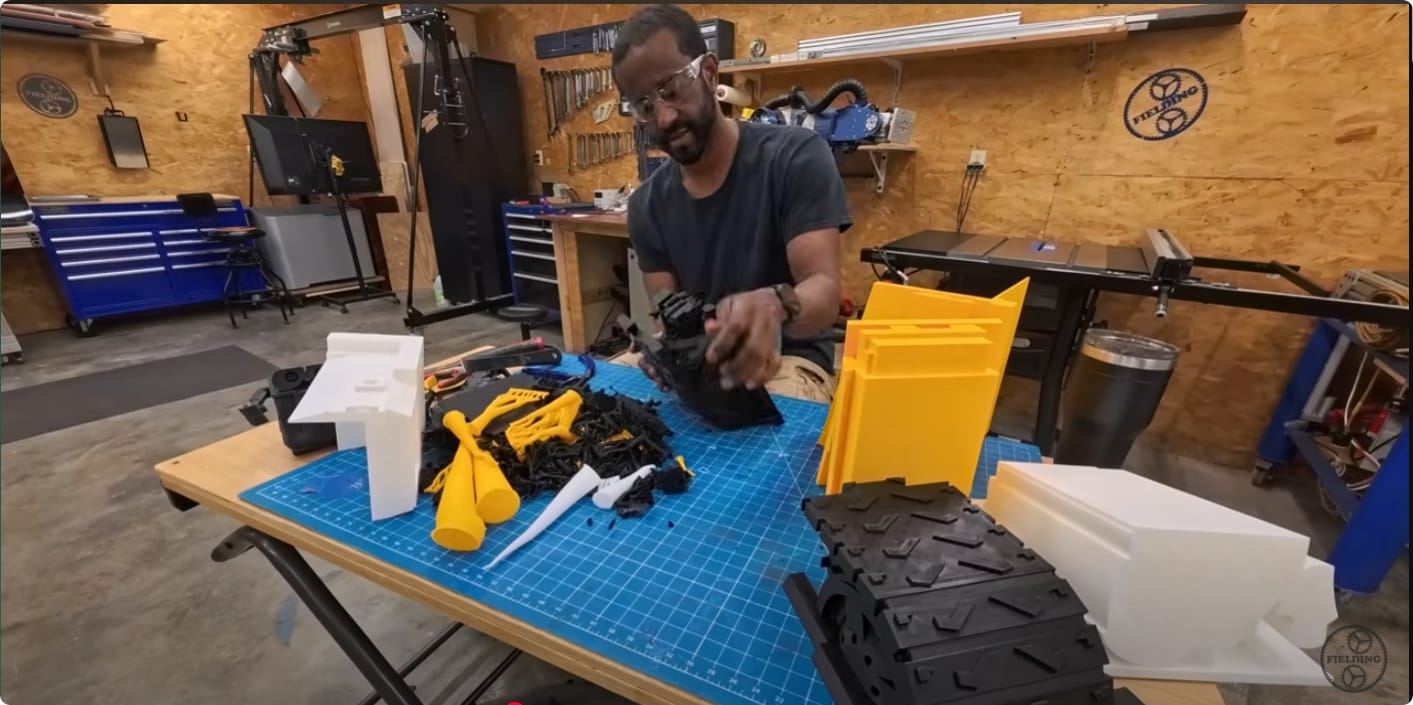
Now that he is done 3D printing most of the parts to building his WALL-E body comes the part of removing the many supports and various components before painting many panels.
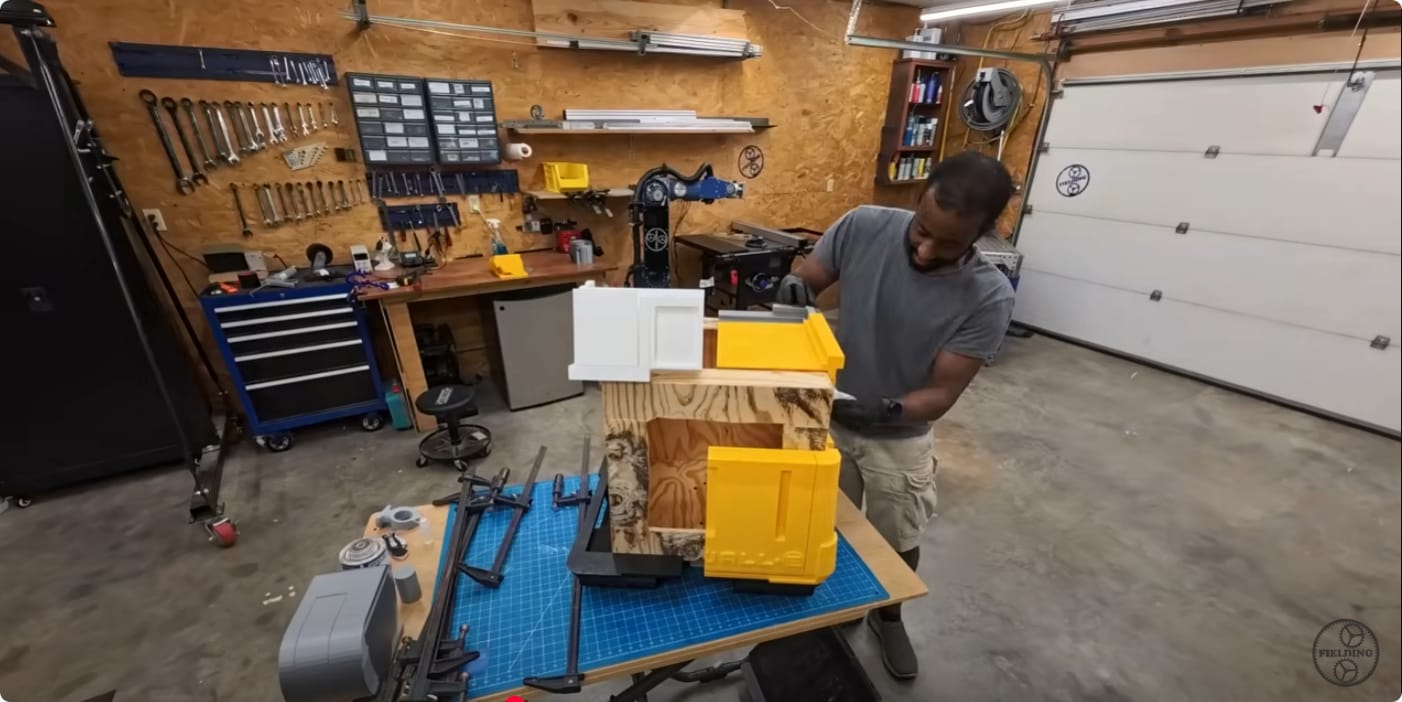
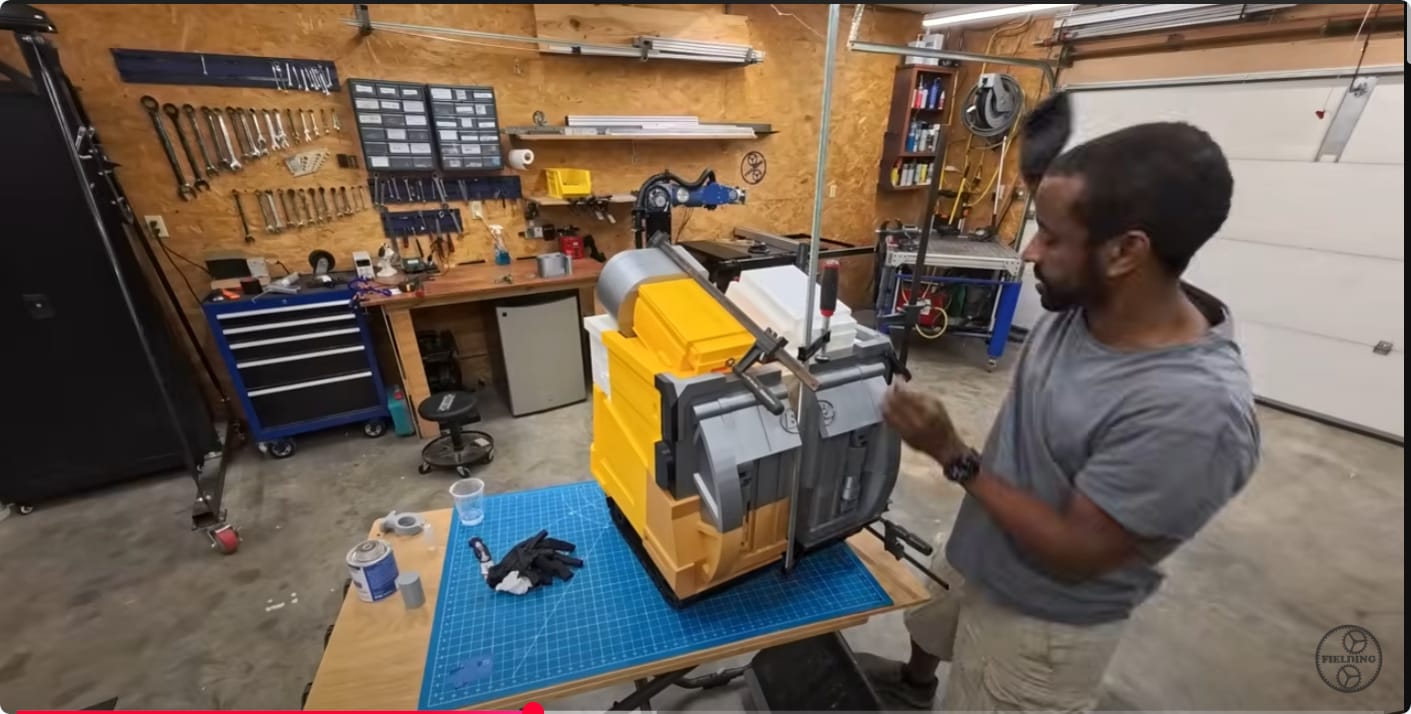
Here he starts gluing the pieces together on the plywood box that would make up WALL-E's chassis. He then gets around to painting the parts after everything has been glued.
Over here Jeremy addresses the reason why he did not use colored filament because he had only a limited amount of time and painting would happen faster vs printing with multiple color filaments. Bambu will be addressing this at the end of 2025 to early 2026 with an accessory that would mount on the side of the duel head Bambu Labs printer with a tool to switch print heads. But for now painting is still faster then using the AMS.